Controlled Articular Rotations
Neutral starting point: pull arms into their sockets, make the collar bones wide, ears over shoulder mass.
Countering compensations: keep arms, head, and spine stationary.
Basic functions:
- Protraction: glide forward.
- Retraction: glide backward.
- Elevation: glide upward.
- Depression: glide downward.
- Upward rotation: counterclockwise.
- Downward rotation: clockwise.
Protraction
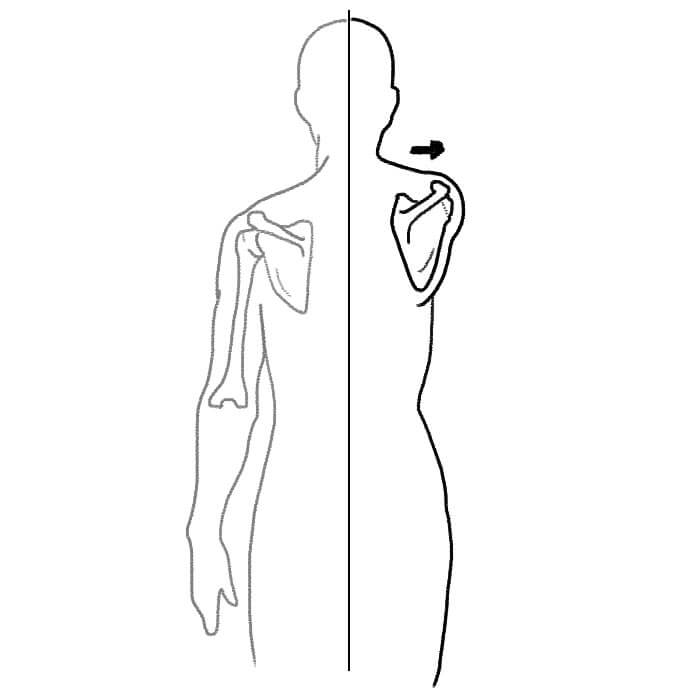
Protraction is when the shoulder blades glide forward across the ribcage. Think of hugging a telephone pole.
Notes:
Watch for thoracic rounding and shoulder-blade elevation.
Retraction
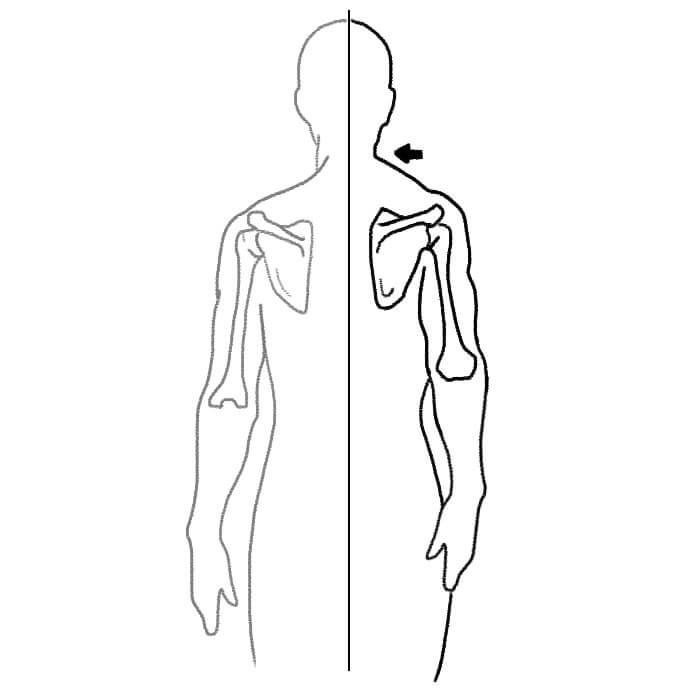
Retraction is when the shoulder blades glide backward across the ribcage. Think of squeezing a pencil between your shoulder blades, into the crook of your spine.
Notes:
Watch for overall spinal extension and arm extension. Arms should only extend as a consequence of shoulder-blade retraction.
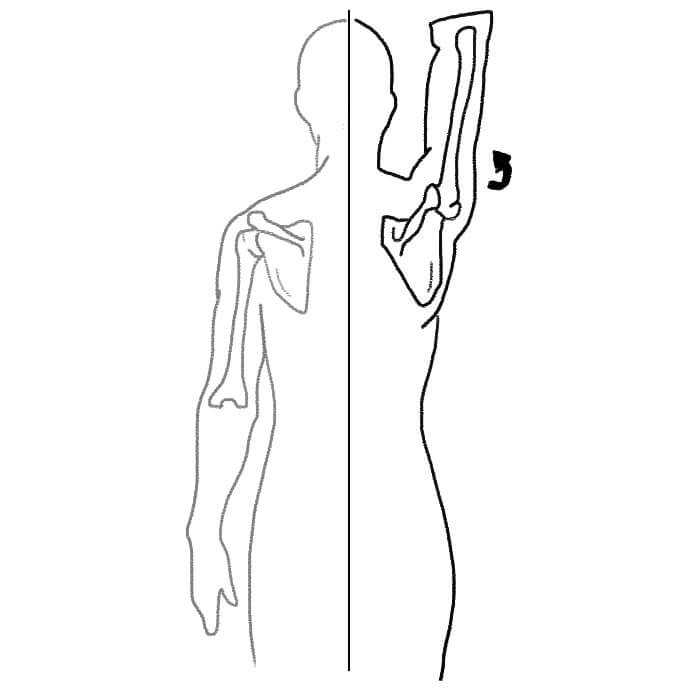
Elevation
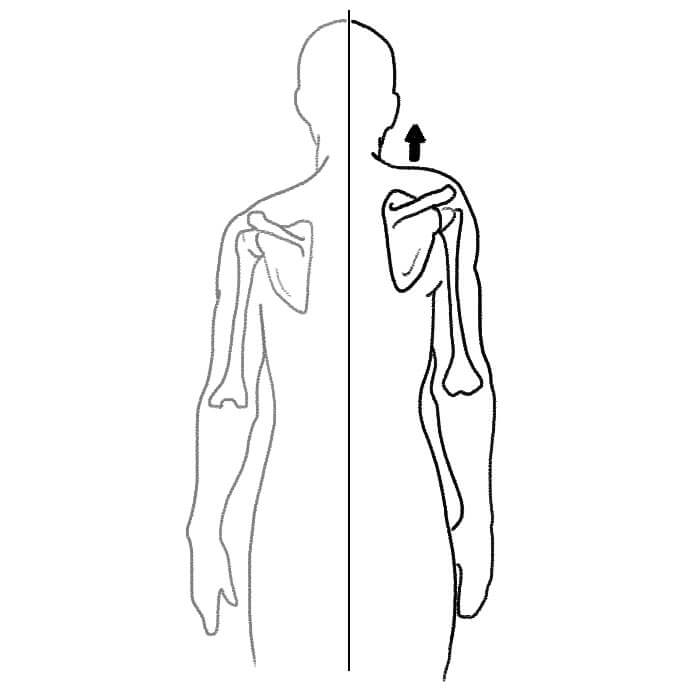
Elevation is when the shoulder blades glide upward across the ribcage. Think of shrugging your shoulders to your ears.
Notes:
Watch for thoracic rounding and shoulder-blade protraction. Keep the meat of your shoulders below your ears.
Depression
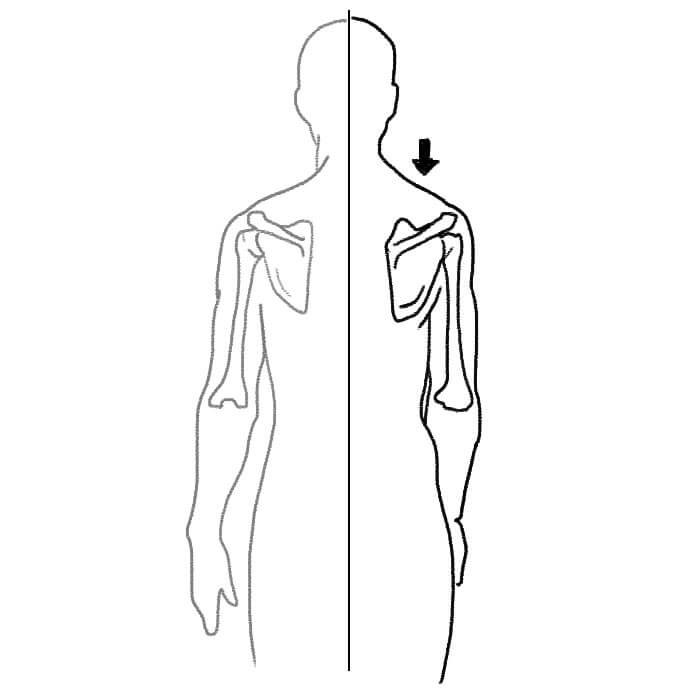
Depression is when the shoulder blades glide downward across the ribcage. Think of putting your shoulder blades into your back pocket.
Notes:
Watch for thoracic extension and puffing the chest. Keep your chest down.
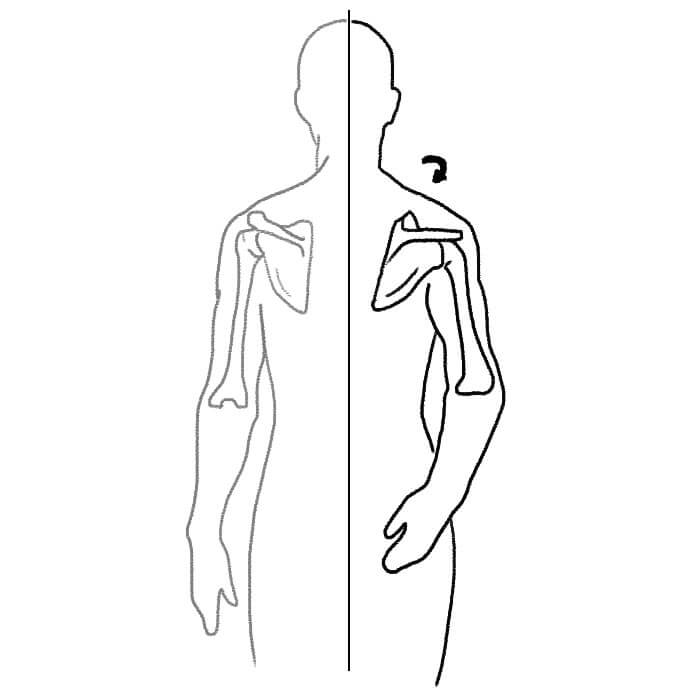
Upward rotation
Upward rotation is when the shoulder blades spin counterclockwise. This happens when you lift your arm overhead and behind your body.
Downward rotation
Downard rotation is when the shoulder blades spin clockwise. This happens when your arm is brought behind and across your body.
3-D ROTATION
The 3-D rotation is a combination of protraction, retraction, elevation, and depression. This means the arms stay static during the rotation.
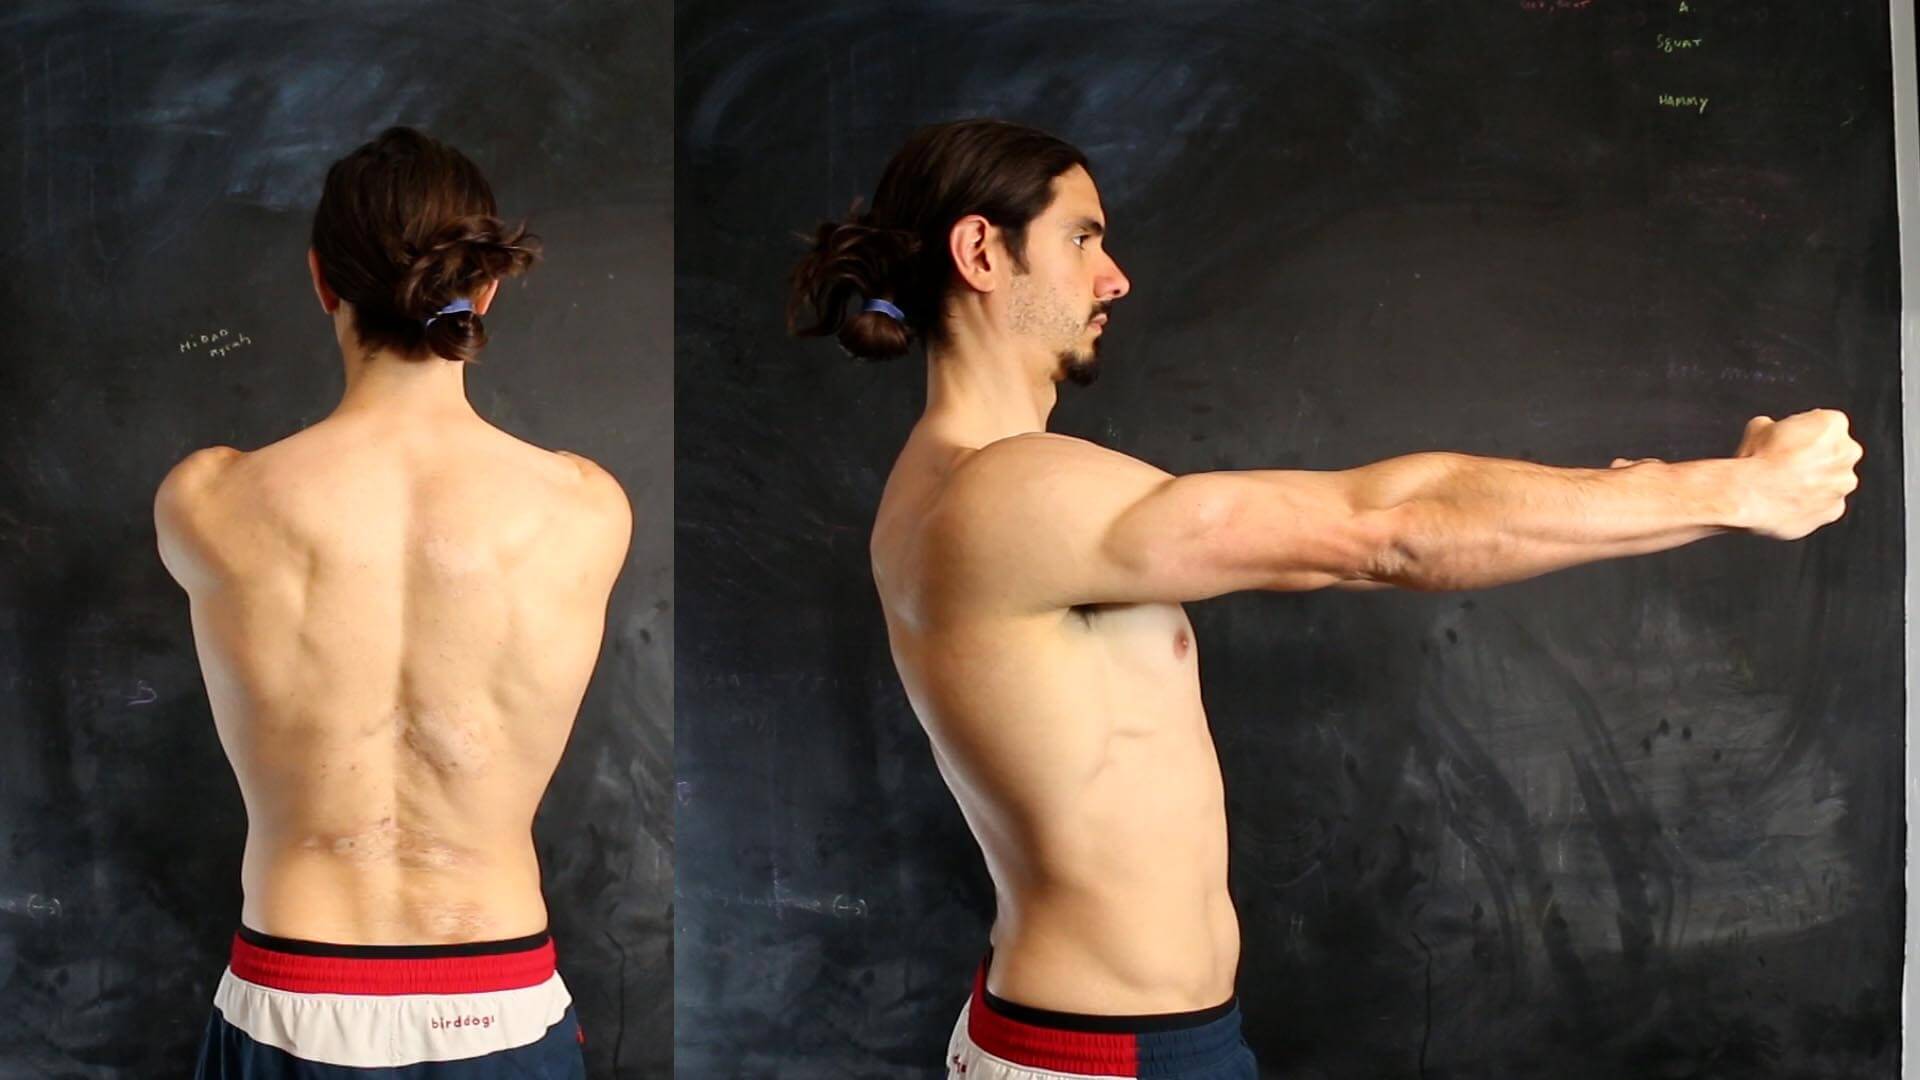
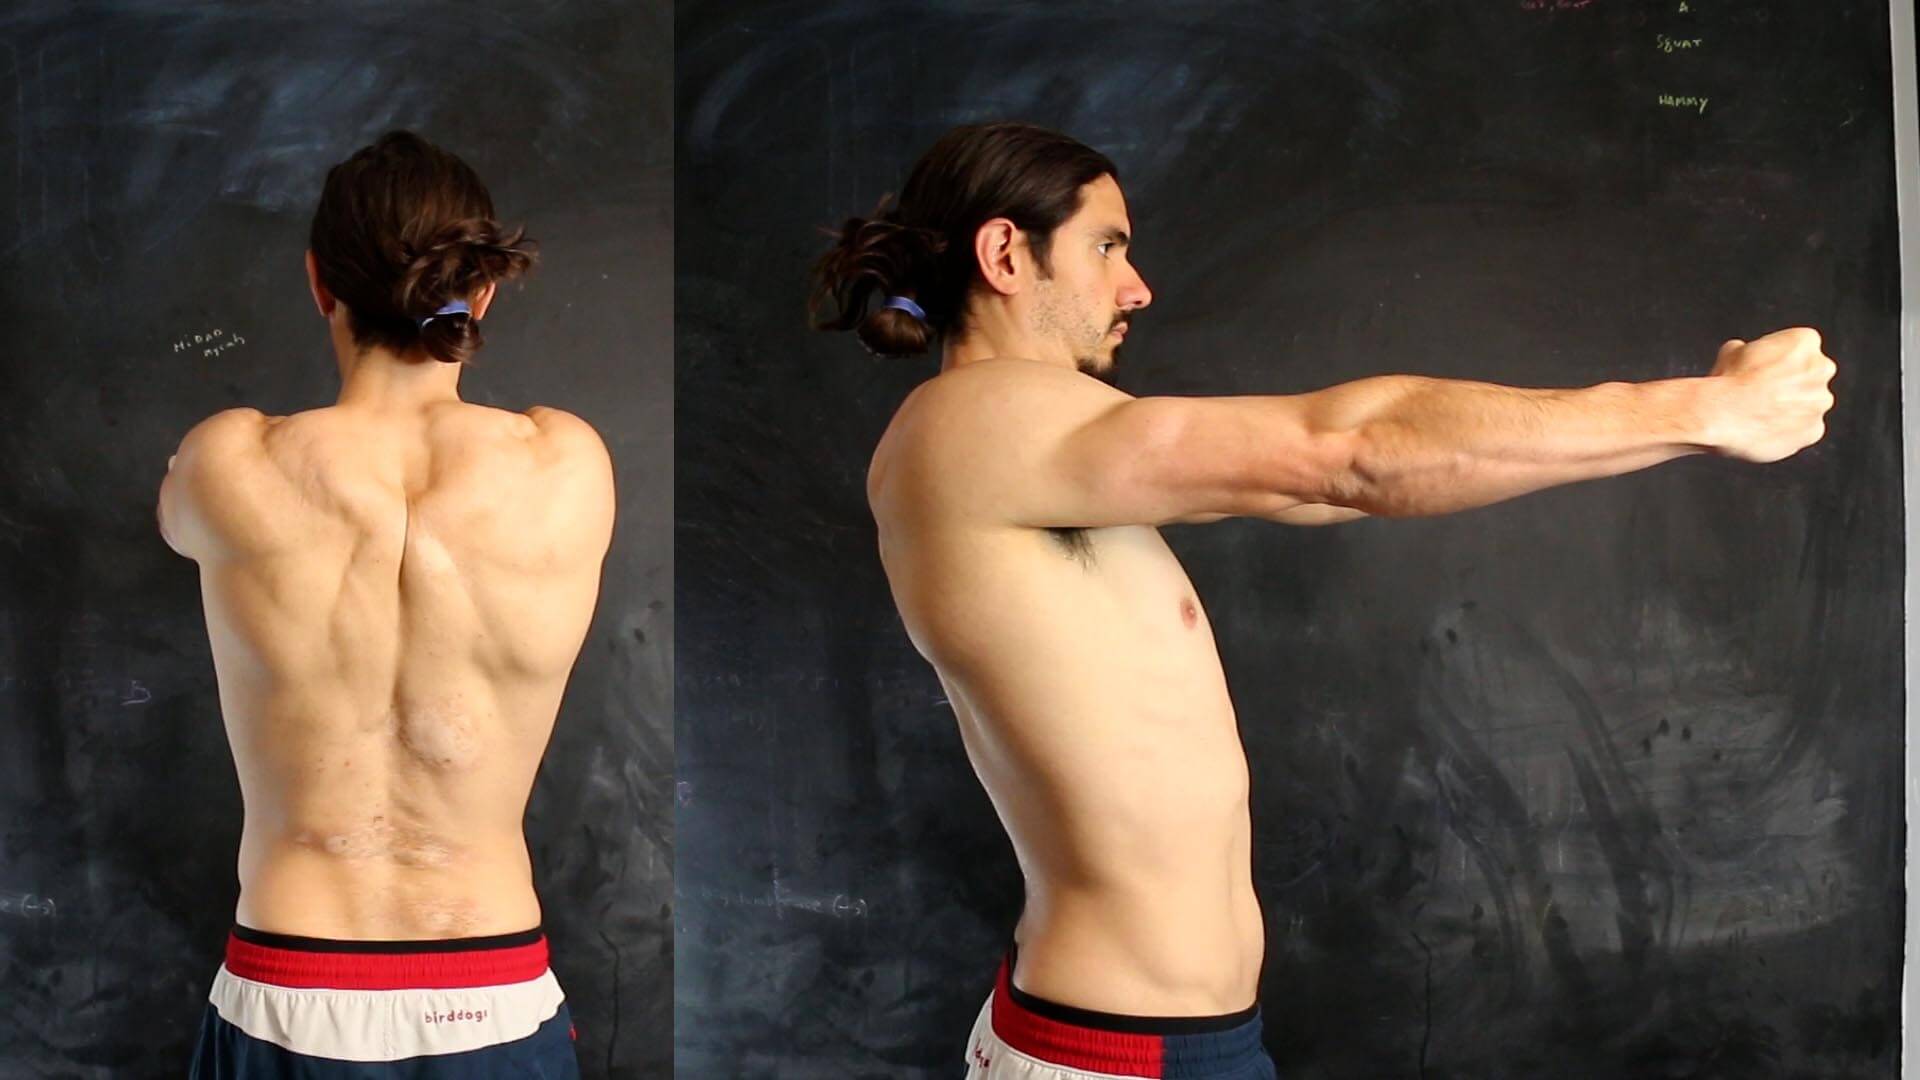
First, assume neutral and lift your arms so they’re parallel with the ground, shoulder-width apart. Keep your elbows locked out and your wrists strong. Make a fist and squeeze your hands together. (You can do this rotation with your arms by your side, but I prefer to elevate them because you can see your elbow.)
Start with depression, put your shoulder blades into your back pocket.
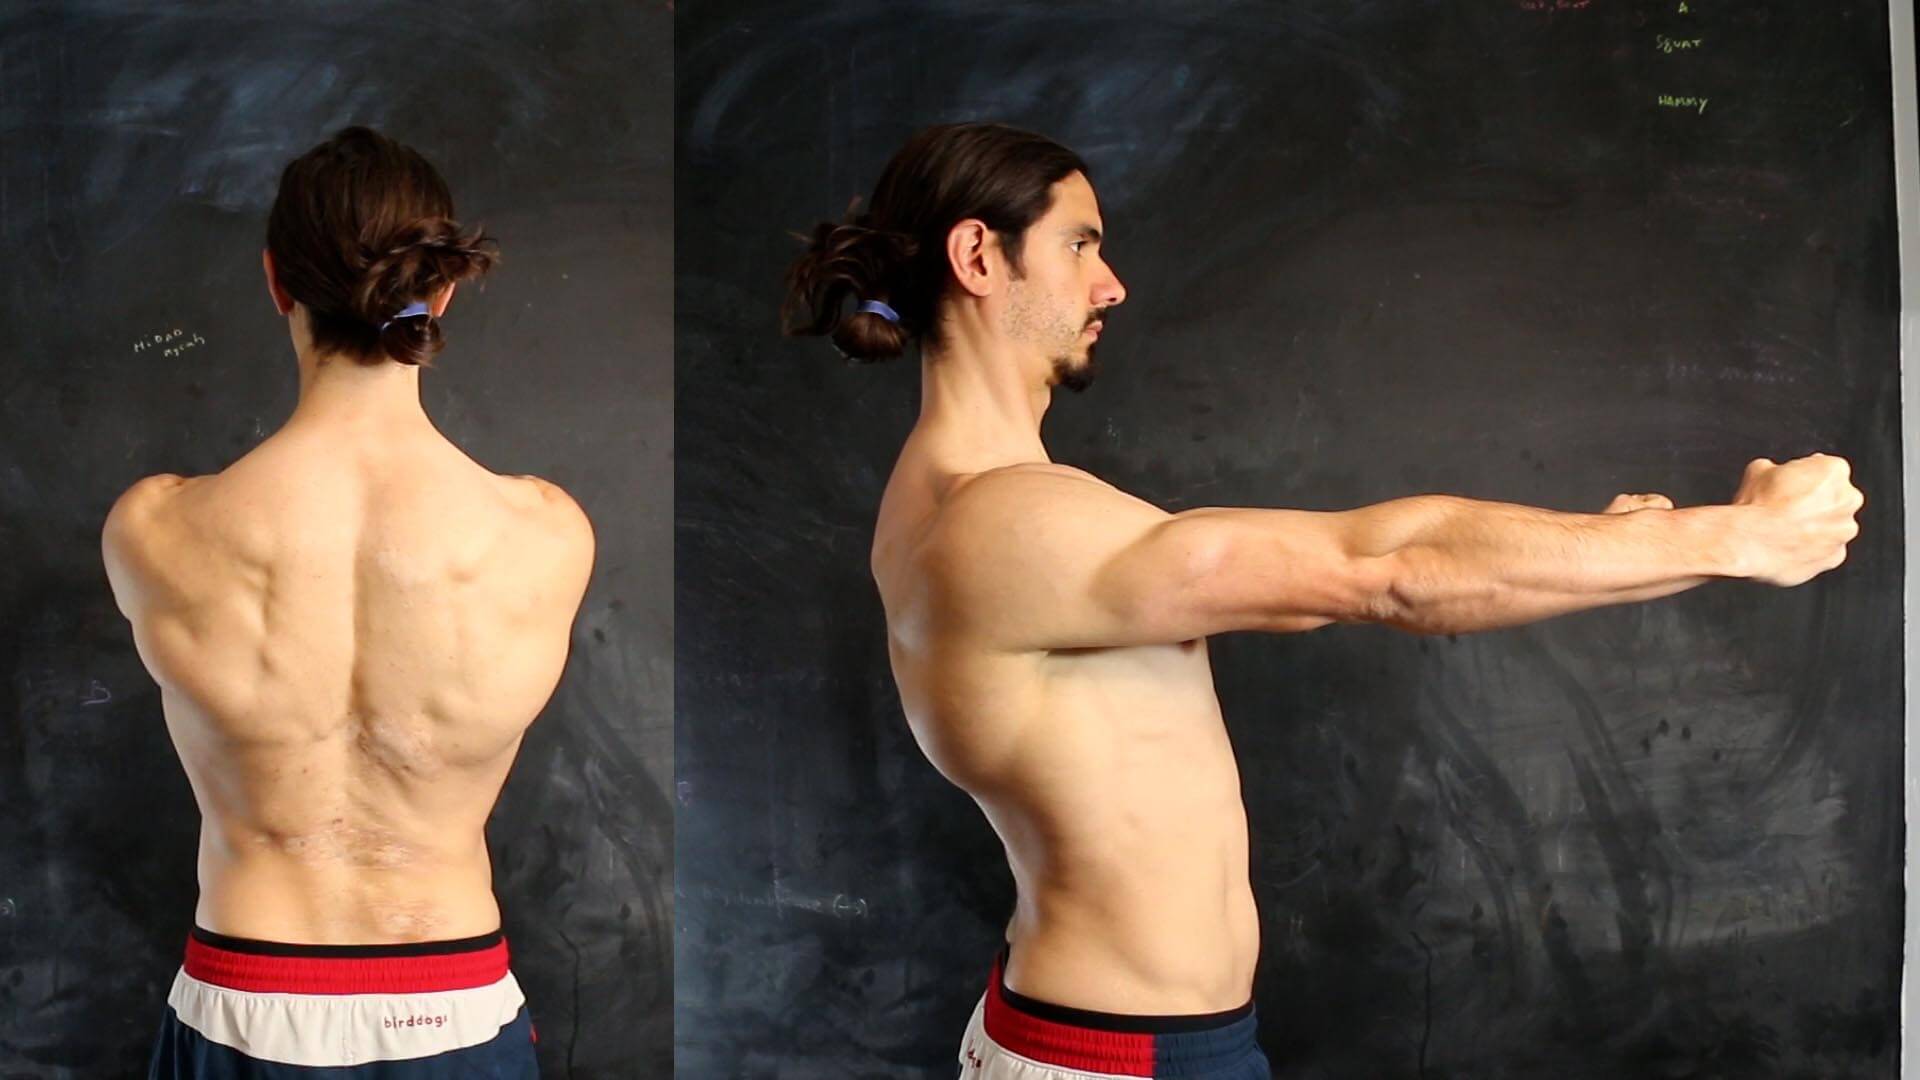
Once you’re depressed, protract. Punch your arms forward, forcing your shoulder blades to glide forwards. Don’t let this affect your thoracic spine. Don’t let your thoracic spine “turtle shell.”
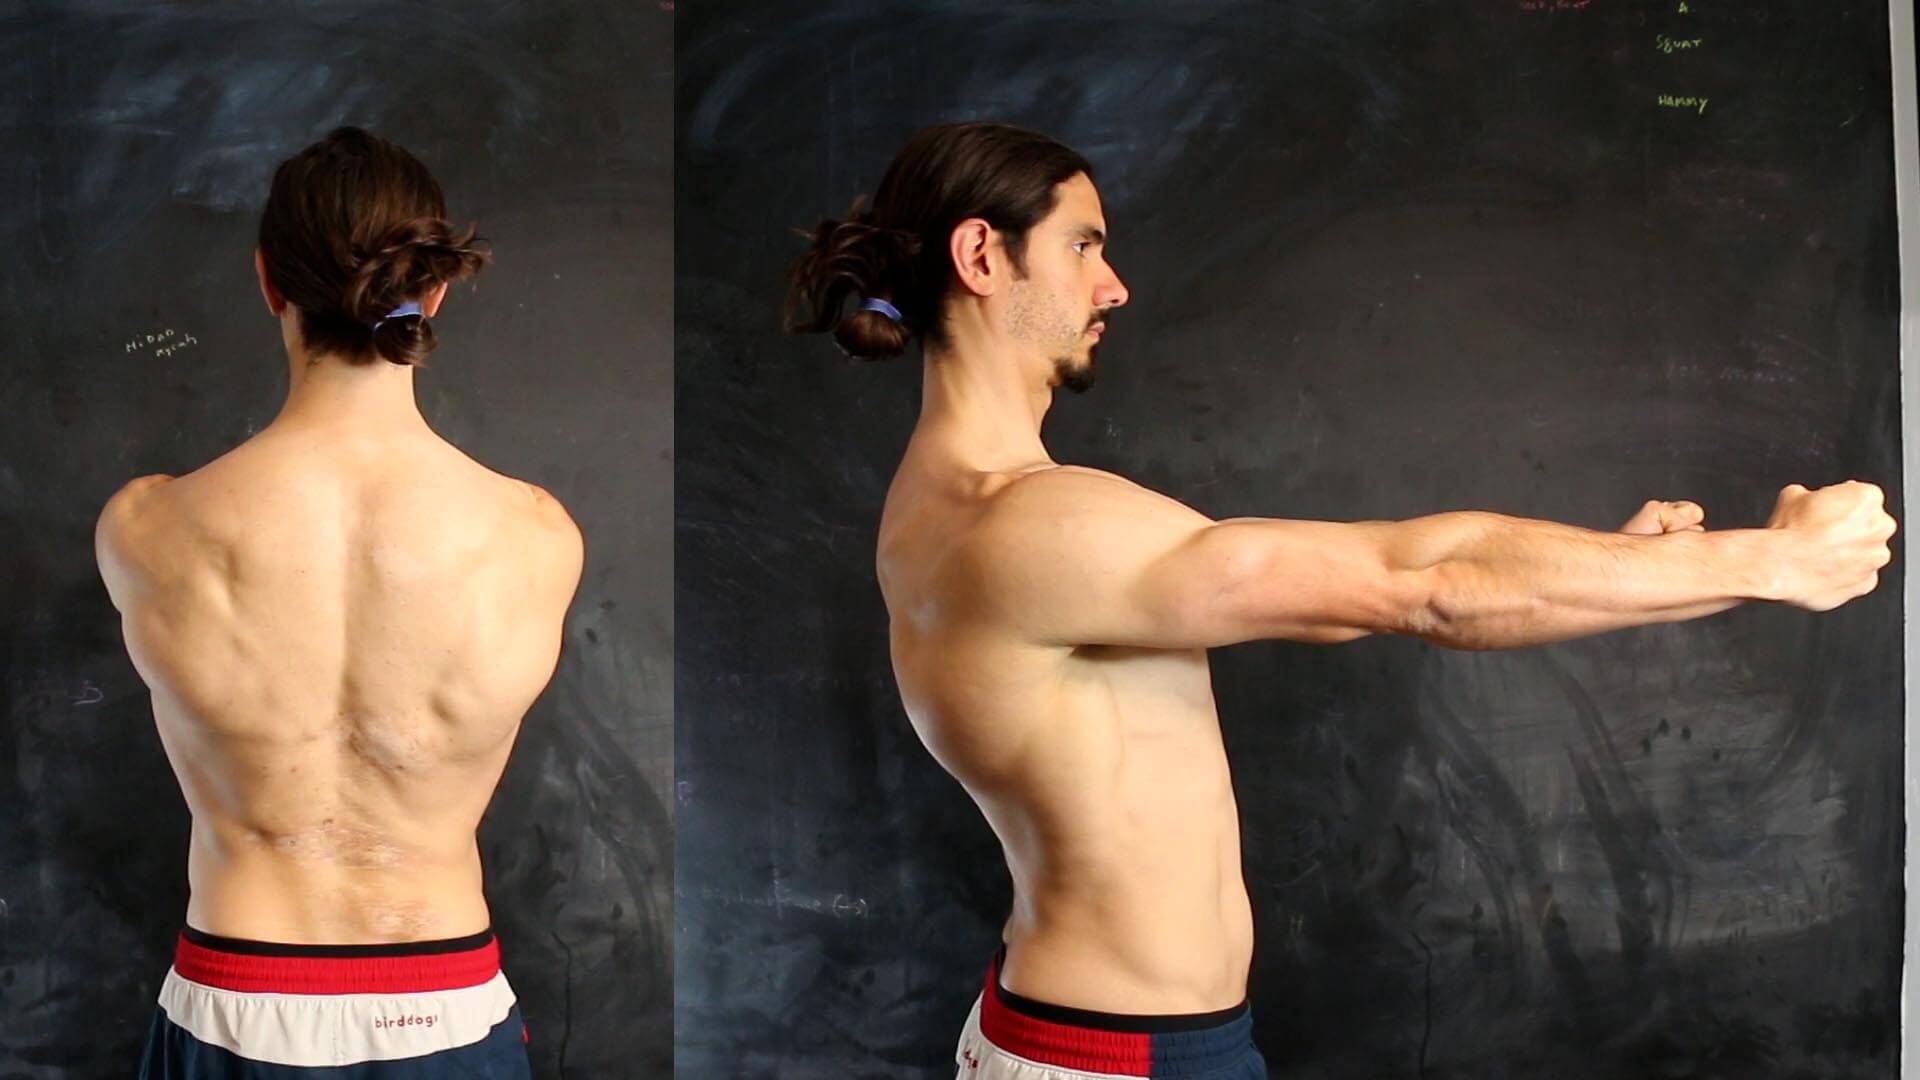
Once you’re protracted, elevate. Shrug your shoulders to your ears. Once again, keep your thoracic spine stable.
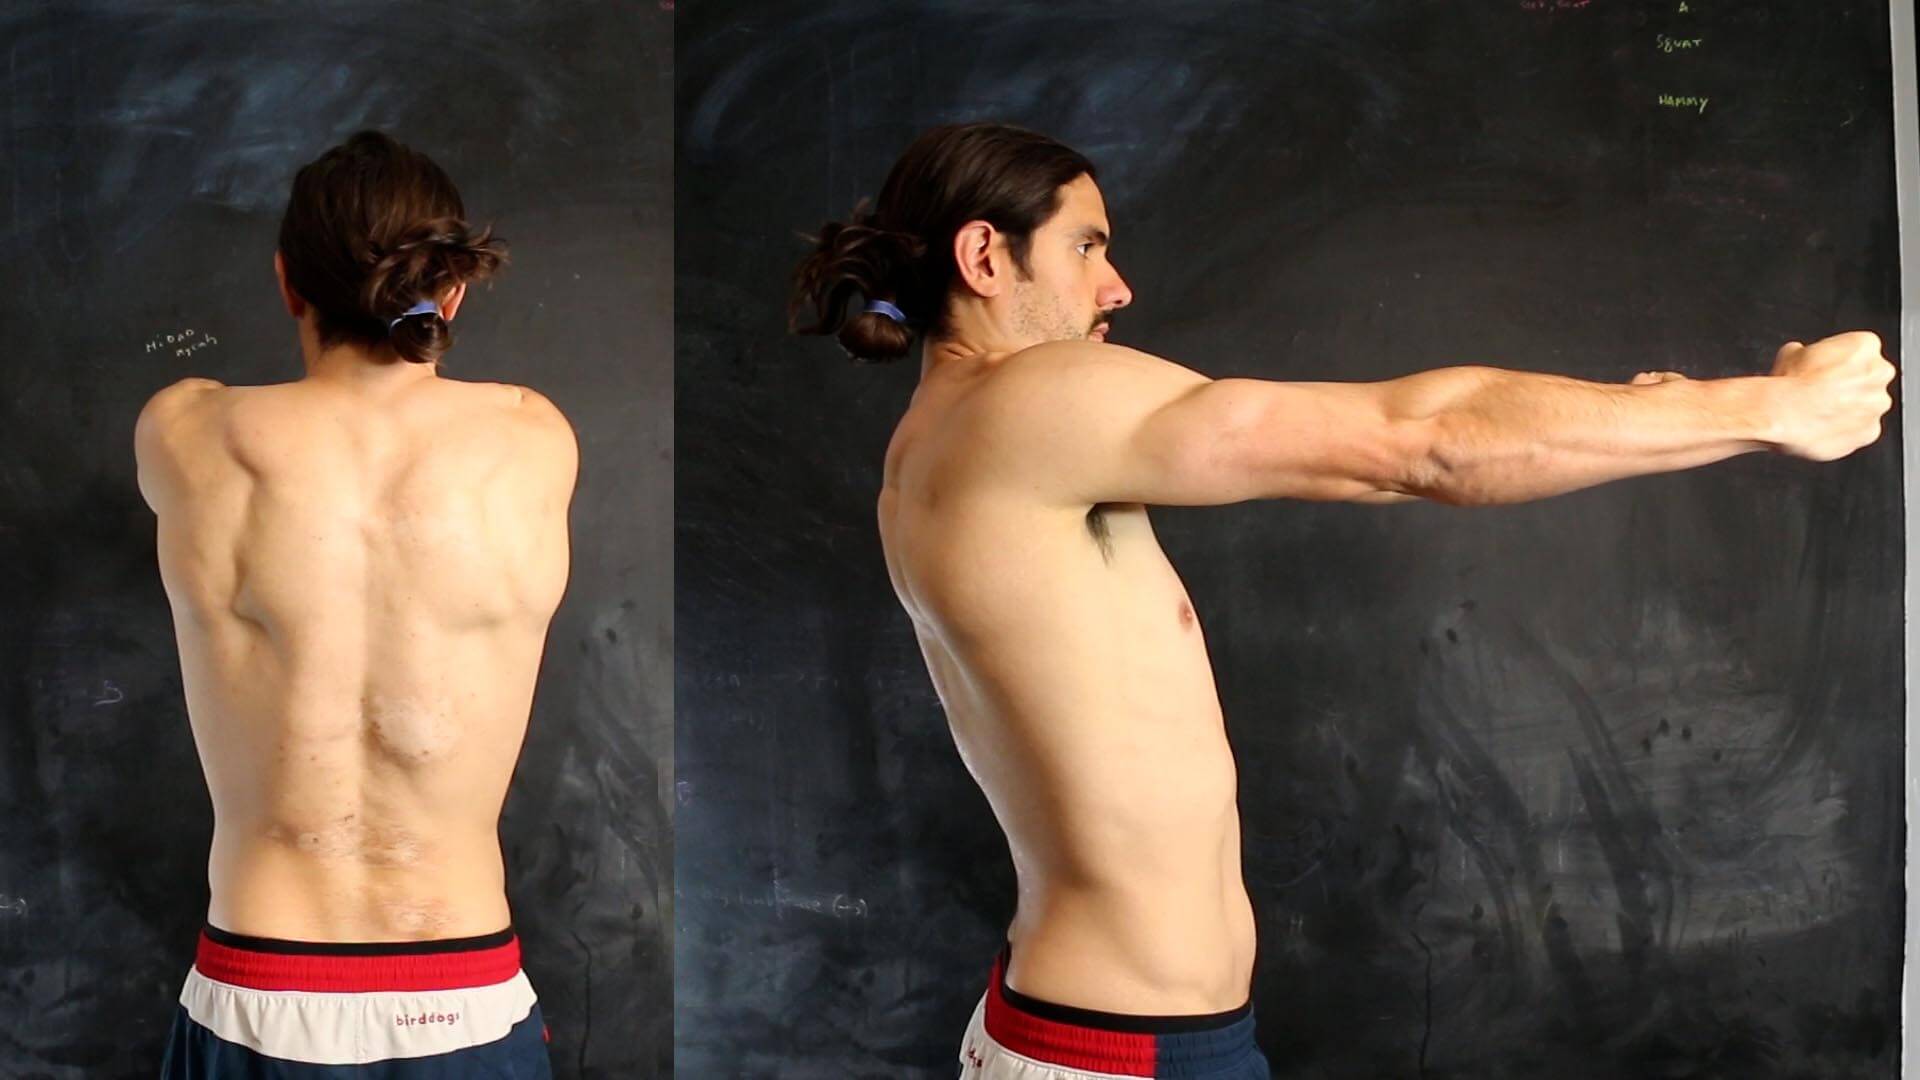
Once you’re elevated, retract. Pretend you’re squeezing a pencil between your shoulder blades. Keep your lower back strong, resist lower-back extension.
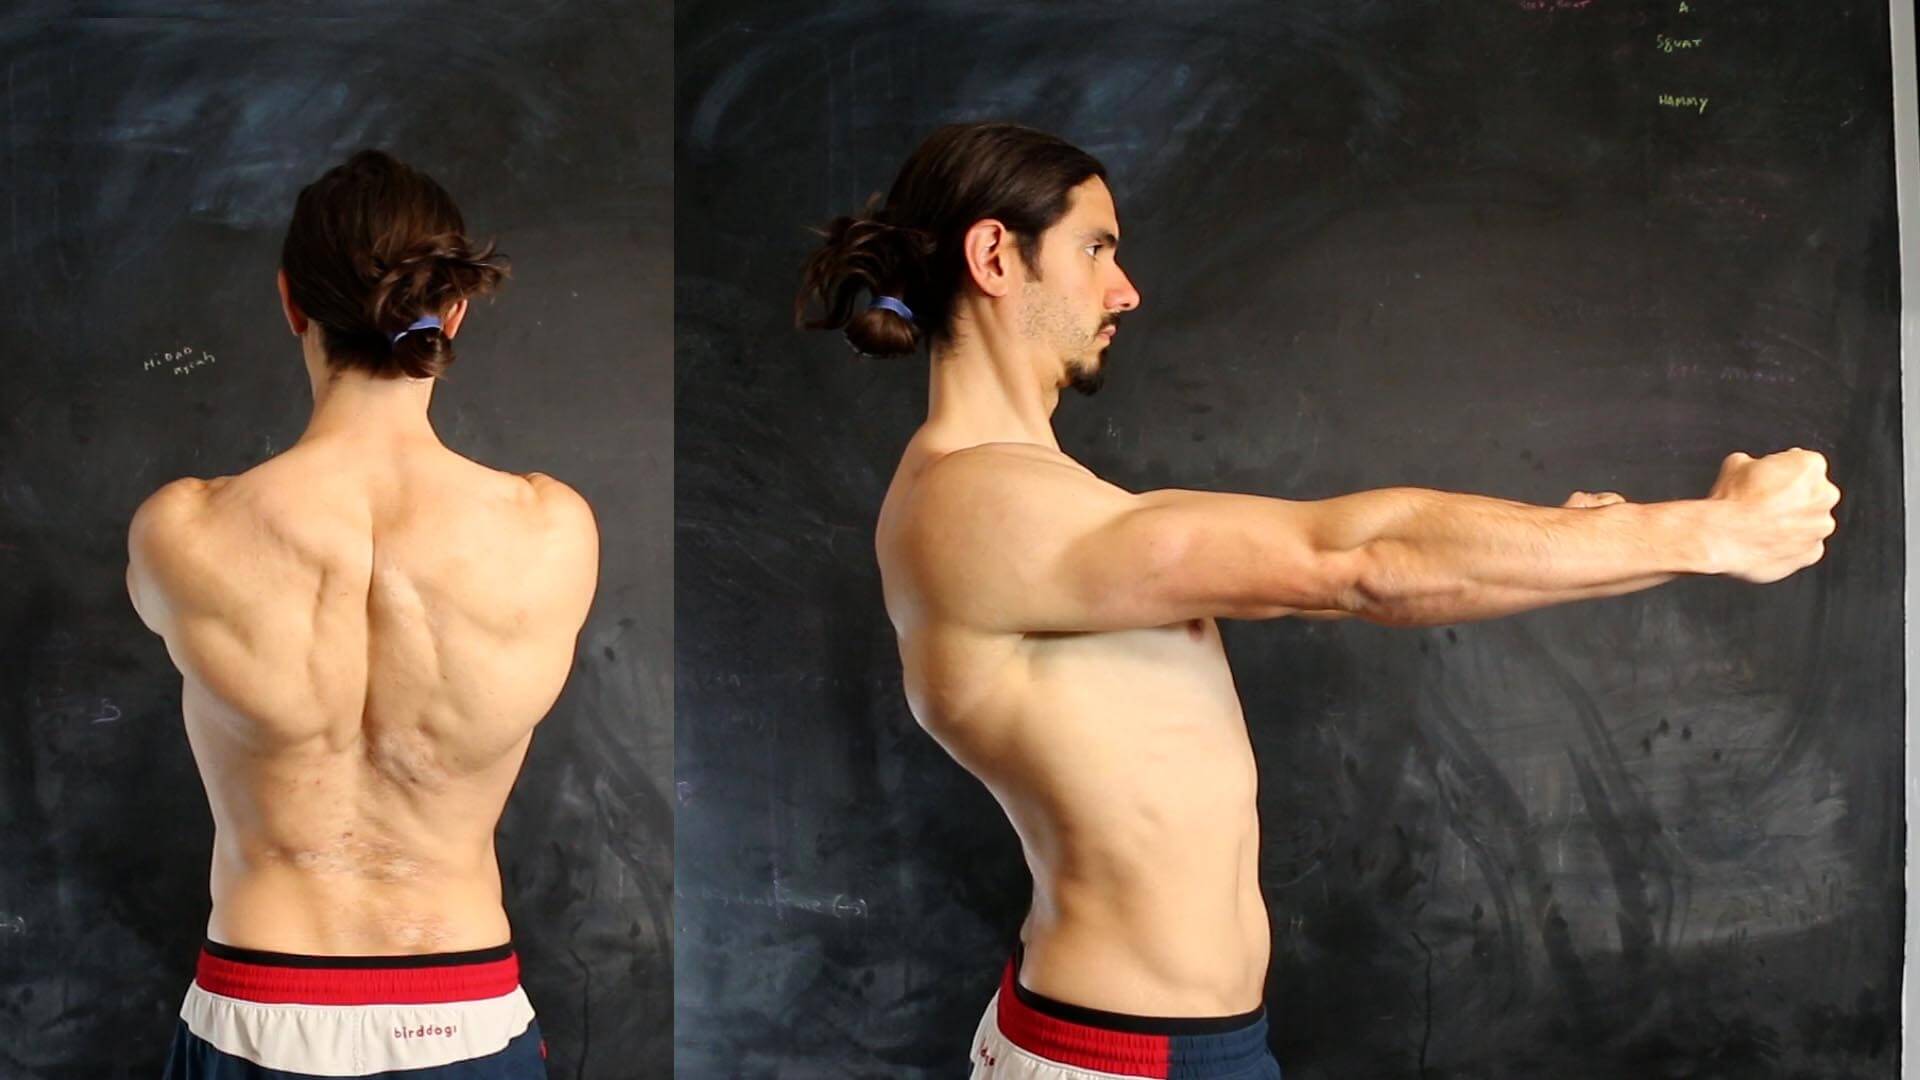
Once you’re retracted, depress. Put your shoulder blades into your back pocket once again.
This is ½ rep. To complete a full rep, reverse the sequence from the depressed and retracted position: elevate with shoulder blade retracted, protract with shoulder blades elevated, depress with shoulder blades protracted, retract with shoulder blades depressed.
Notes:
Take note of what movements feel tighter than others and when you’re prone to compensate. From a compensation standpoint, you’re looking at, firstly, the spine. Does your neck jut forwards at times? Does your thoracic spine or lumbar spine move a lot? You’re also looking at the elbows. If your elbows bend during certain movements, chances are you’re used to using your arms to help you through those ranges.
You should attack troublesome areas with isolated 2-D mobilizations.
You can do these mobilizations from different positions: standing with arms by your side, seated, in a quadruped position with arms anchored into the ground, etc…
You can do these mobilizations in a different order. Instead of starting with depression, start with a different movement and circle throughout the remaining ones.
→ Neck
→ Shoulder-Blades
→ Shoulders (coming soon)
→ Elbow (coming soon)
→ Wrist (coming soon)
→ Thoracic Spine
→ Lumbar Spine
→ Hips
→ Knees
→ Ankles